Autumn Seminar with Gary Rance
Sunday 20th October 2024
Gary has been a wood turner for 50 years and started as a production spindle turner until eventually going self employed. He is recognised as one of the fastest spindle production turners and master of the skew chisel in the business. Gary started the day with a round bar ½ inch skew to show planing, a pommel, V cut and a bead. He sharpens his skew to a 30 degree angle. He then moved to a spindle gouge to cut coves. He emphasised that good spindle work is the basis for all wood turning and that practice makes perfect.
Gary’s first item was an earring stand and he showed his steel template for drilling the 24 holes around the top section. He also drilled a centre hole so he could mount the plate to be turned on a simple ‘post’ chuck. Cuts were made with a very sharp skew.
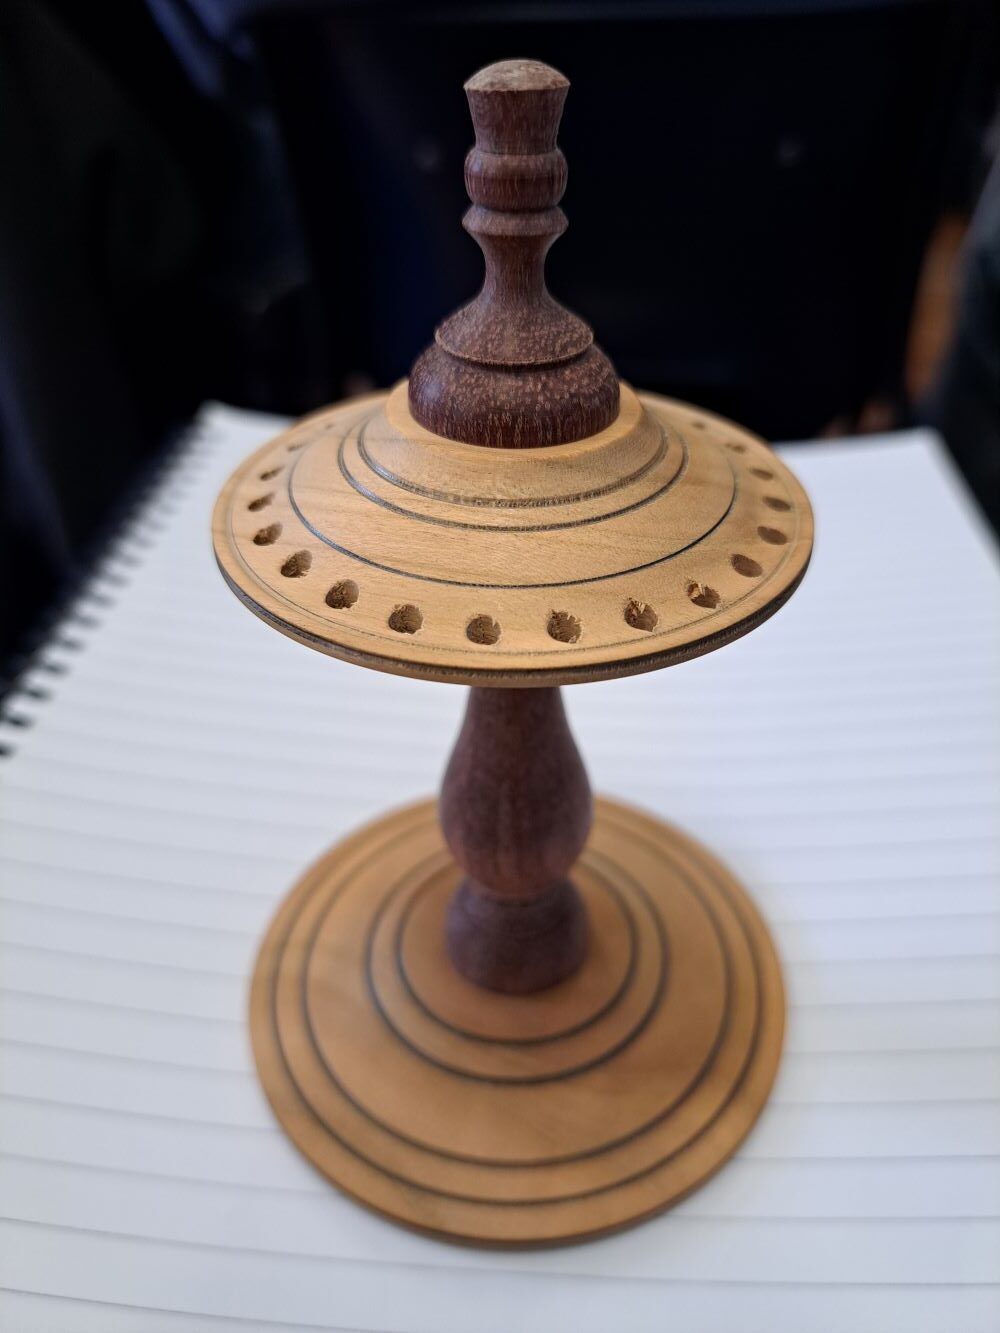
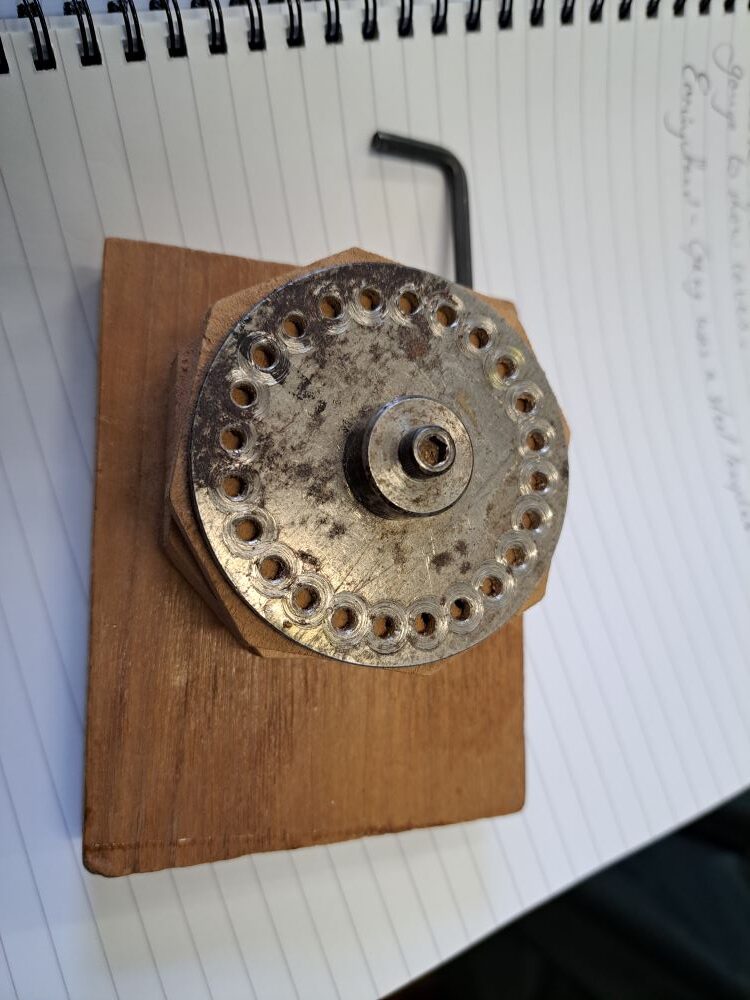
The decorative lines were made with the edge of the skew chisel and then coloured with an ordinary lead pencil. Very quick but effective. The centre spindle, in a contrasting wood, was then turned as a single piece but then cut to fit either side of the top plate. When gluing the stem to the plates he tries to undercut the part that will be hidden to create a small space for excess glue to go thus reducing any excess that may stain the timber. A coat of sanding sealer ensured that the pencil lines were fixed. For a one off job I guess the drilling of the 24 holes could be done using the indexing on your lathe if you have it or some very careful marking out and a pillar drill.
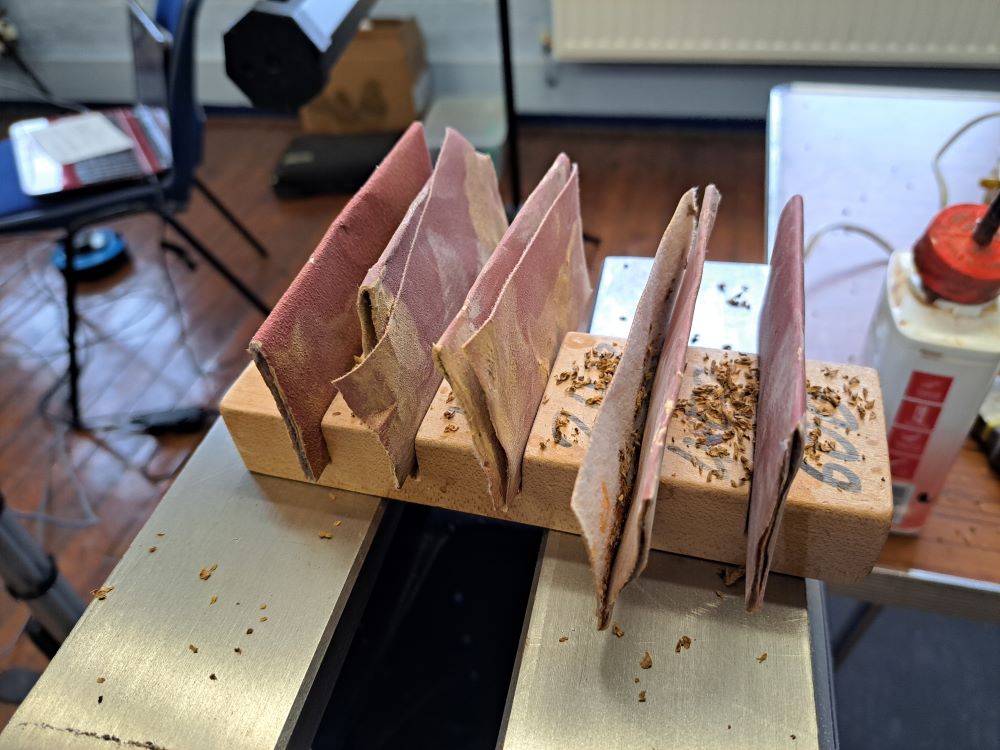
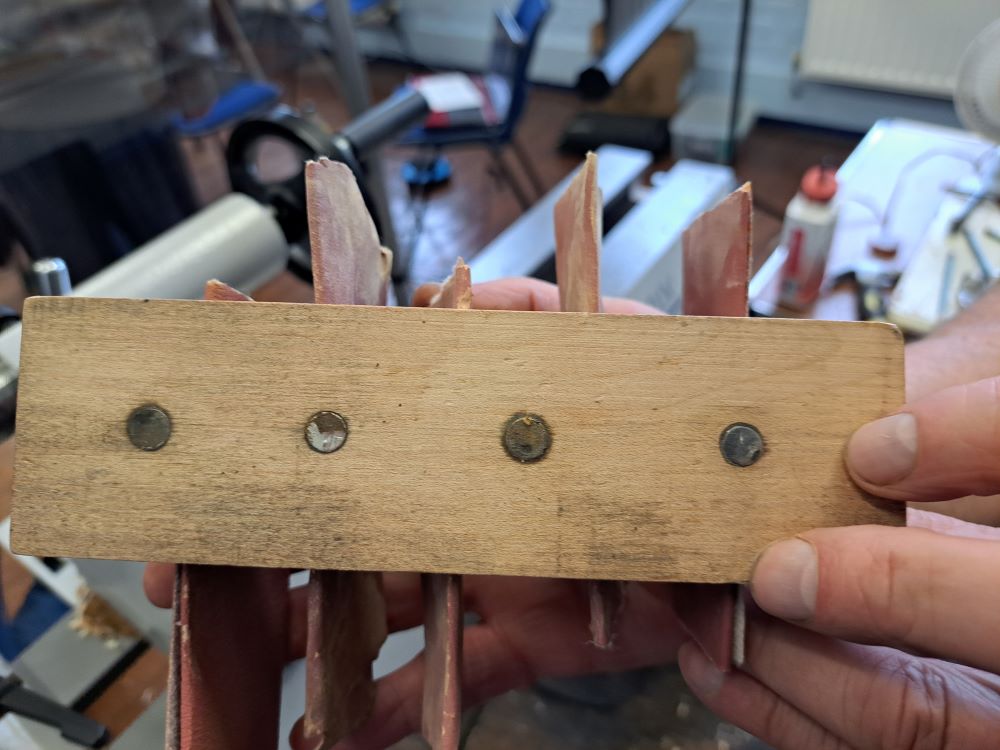
I noticed that Gary had a very simple way of keeping his abrasives tidy, a block with slots, each taking a folded square of the different grades. Small magnets underneath kept it readily to hand.
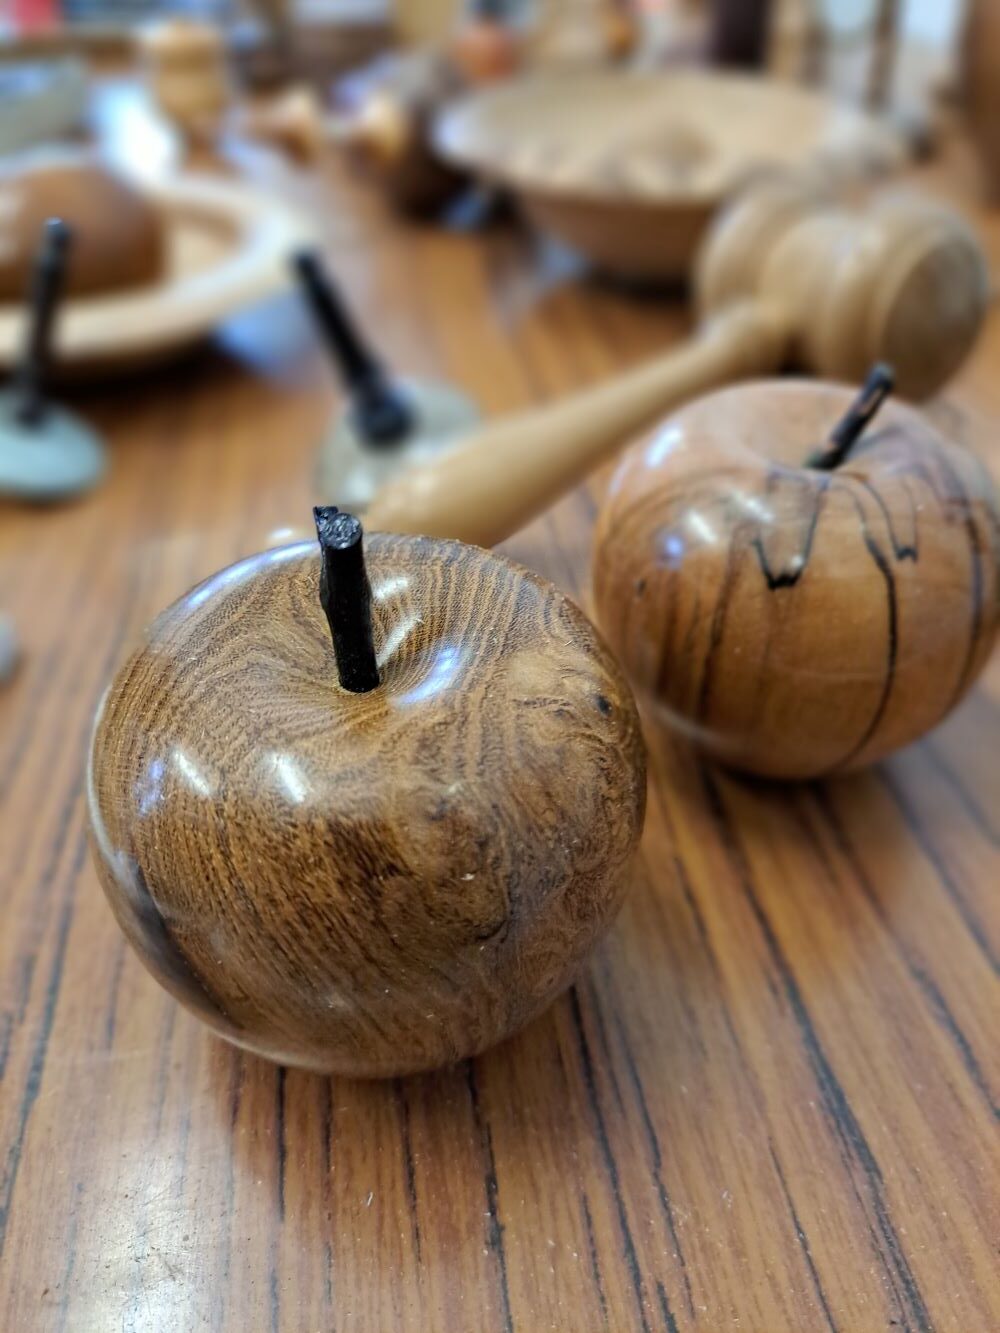
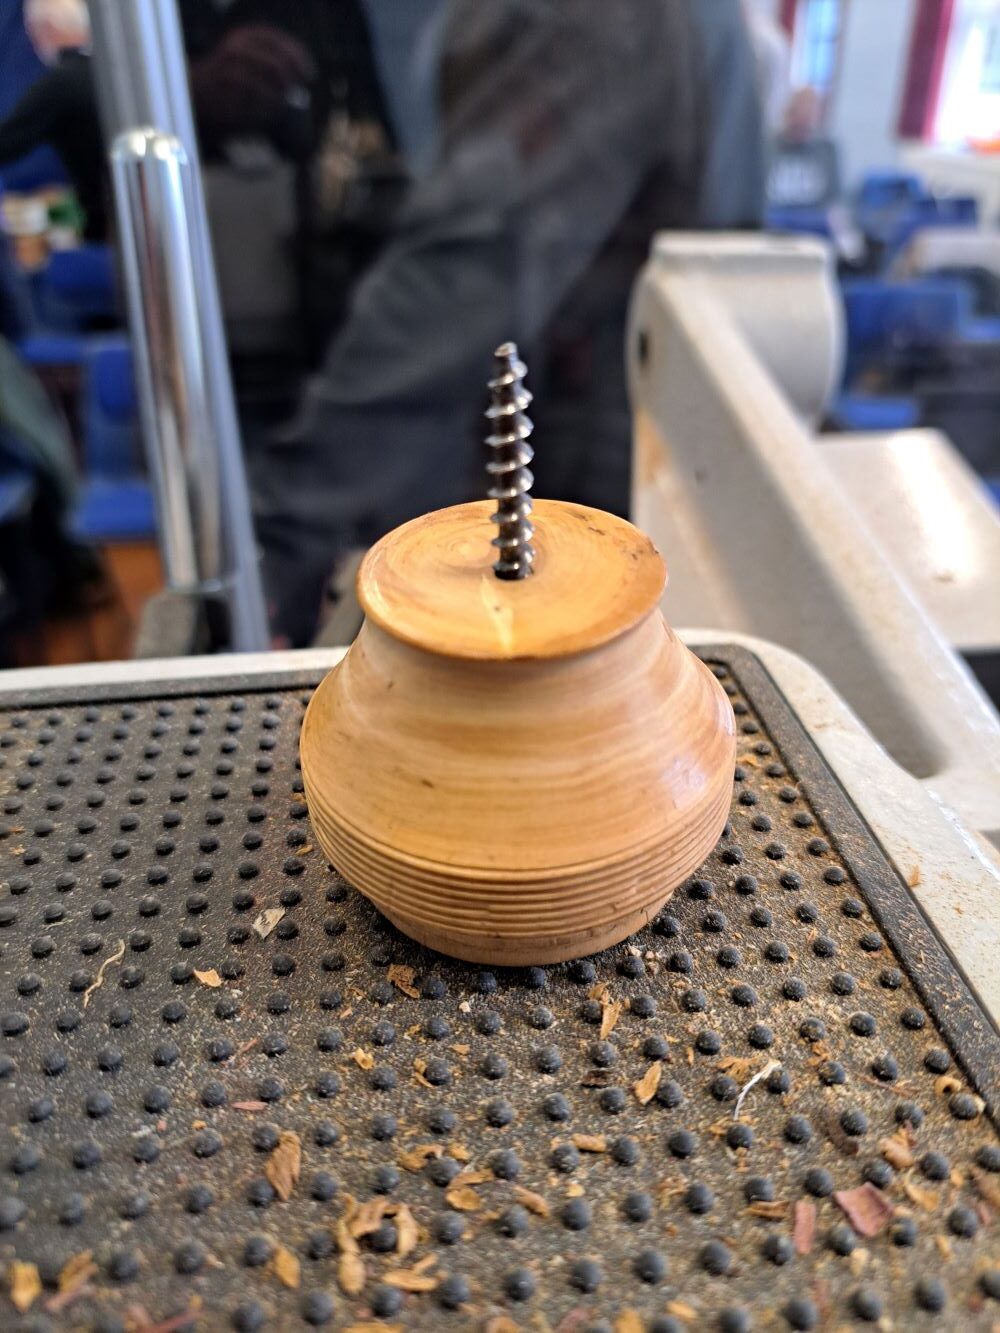
Next item was an apple. Gary drills a small hole through the blank and then mounts it onto a home made screw chuck with a self tapping screw. This very simple set up allows for minimal time to reverse it. He used a bit of twig stained dark for the stem and a clove for the other hole.
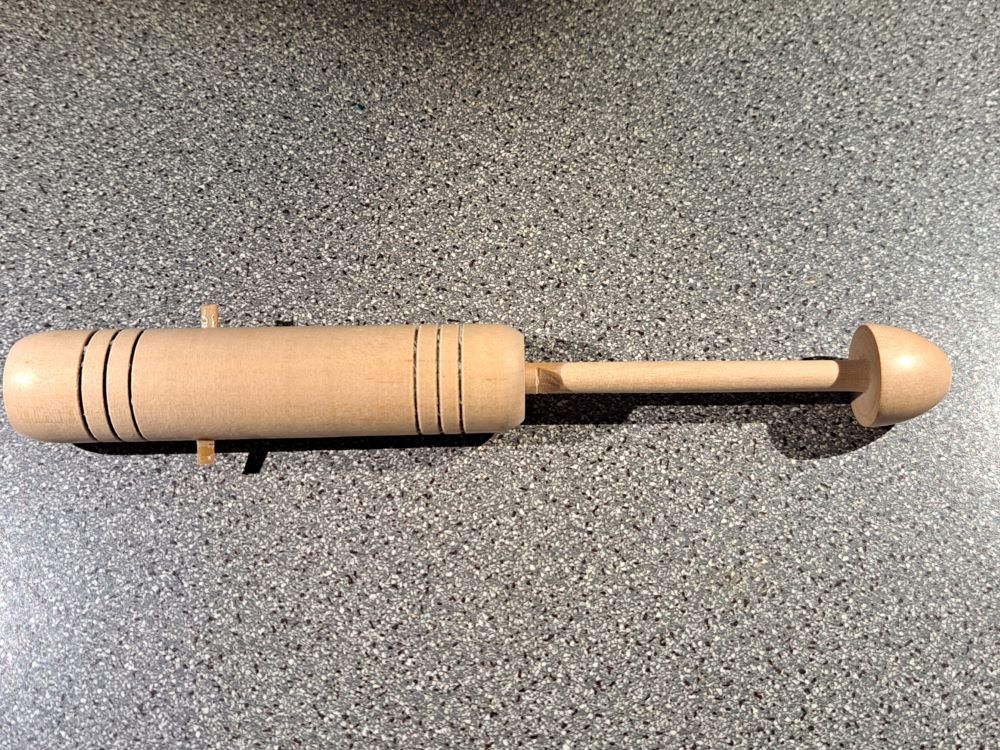
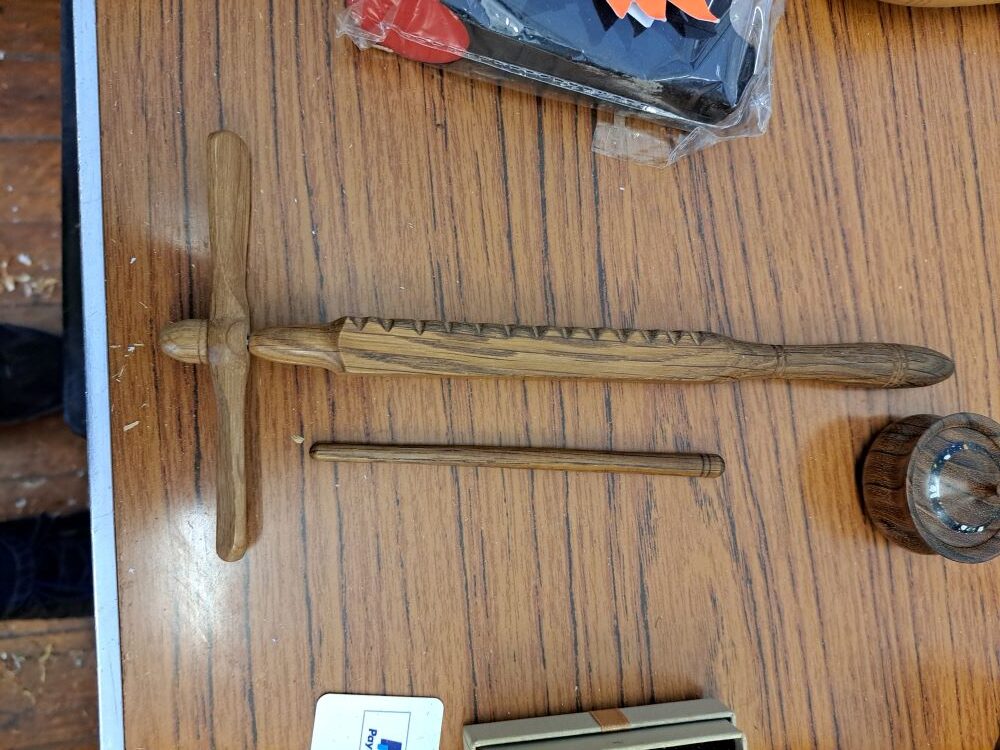
Gary then showed us a simple gadget which he called an “Idiot Stick” and after demonstrating how it worked, he handed to the audience to try while he started to make one.
This caused a great deal of merriment and frustration as only a couple of people could do it. I didn’t get a picture of his one but I made one a couple of days later as shown in the picture.
Gary then revealed the way to use it and then showed us two other entertaining gizmos that are easy to make but create a great deal of bafflement.
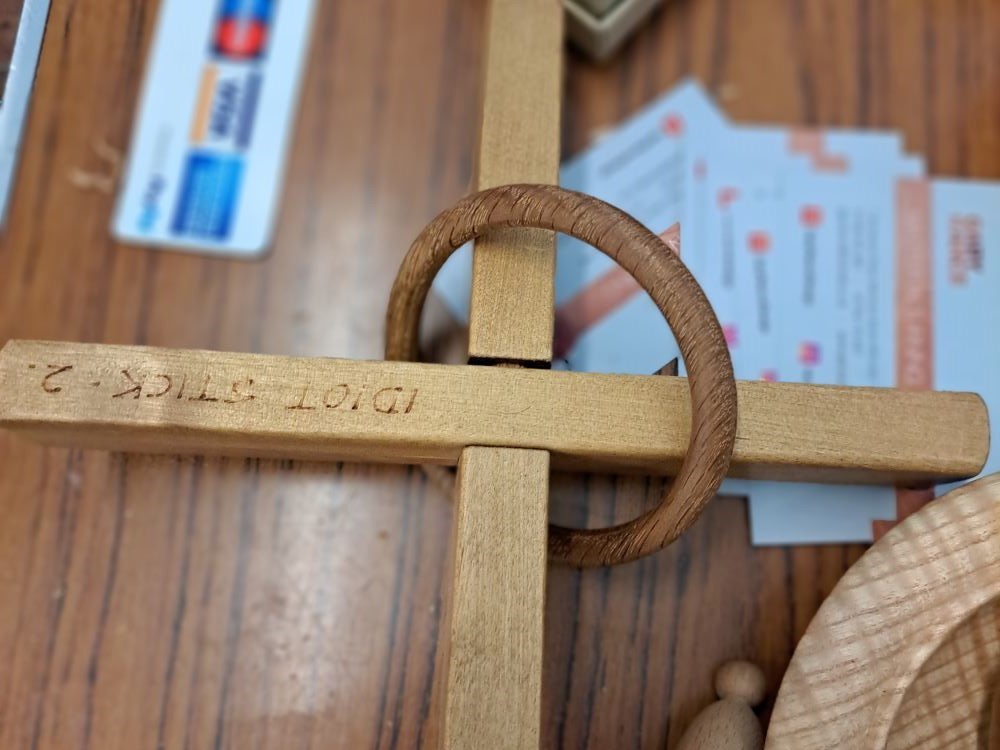
I won’t go into detail now but I’m sure there will be some made in the near future so perhaps they can be shown at either the Christmas meeting or after the January AGM.
Now back to more serious stuff and a tiny pill box using a ring of Corian as a decoration on top of the lid but not inlaid into the lid. He called it an ‘Onlay’. I don’t have a picture of the one he made so this is one he brought along.
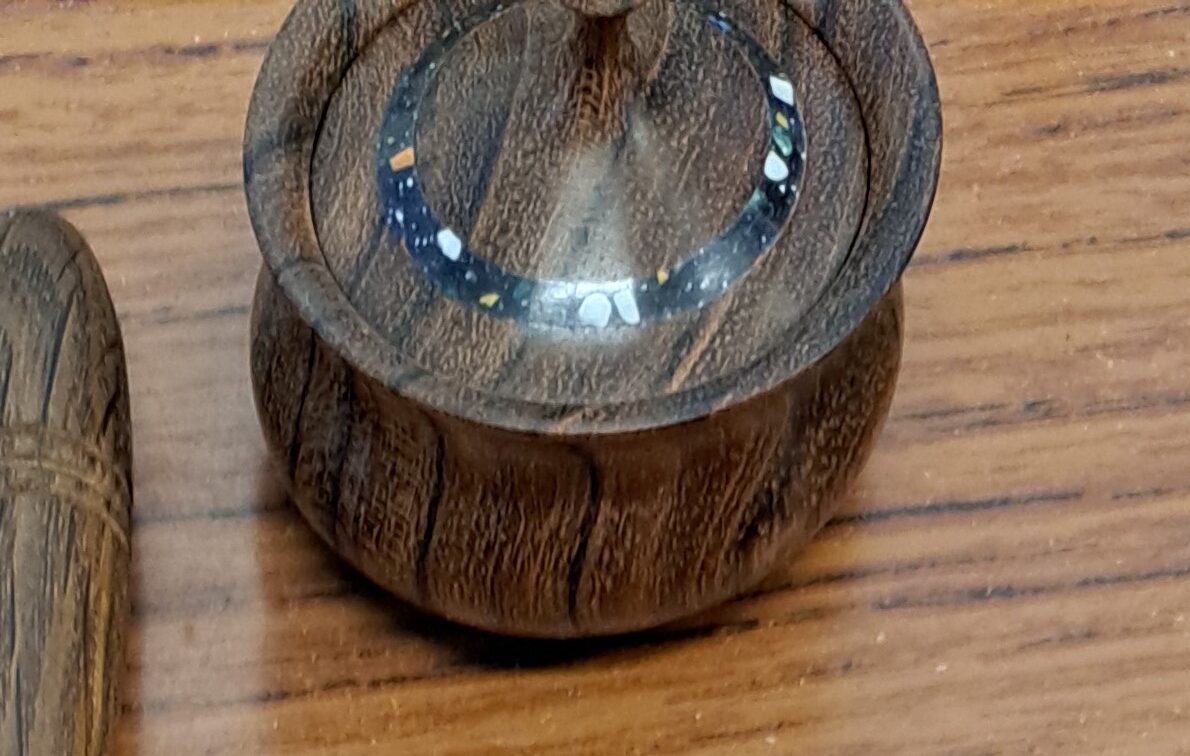
Top Tip – When Gary sanded the inside of the pot, he emphasised that you must never use two fingers in such a small space as a catch will break one or both fingers! Use one finger with the paper at an angle so the corner can be bent over at the bottom.
Next was a Humming Top which is made in a similar way to a small pot with a lid as it needs to be hollow inside.
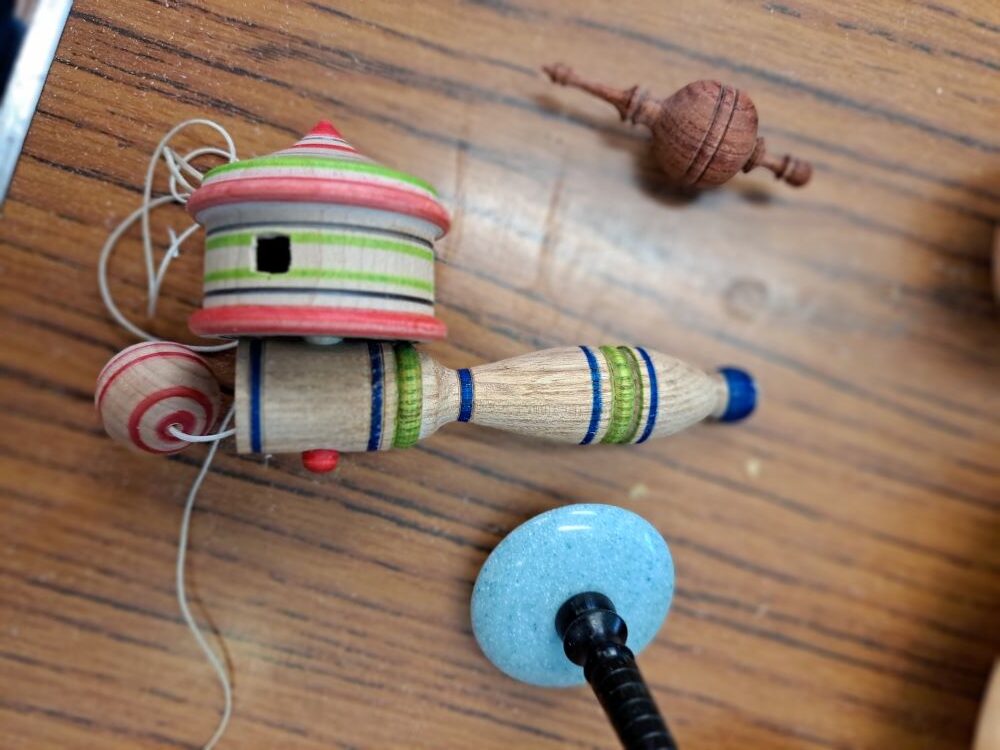
It is essential to use a close grained wood as an open grain will probably have a different weight of wood on each side and the top will be unbalanced. Gary used a 3”x2” block of wood and cut the spigot (7.5mm diameter) at the tailstock end first. He then measured the position of the beads in the body and half way between them drilled a 8mm hole about half way through. Drilling the hole later risks damaging the thin wall of the top. He then reduced the centre to size and cut the beads before a light sanding. He then parted off the spigot end next to the bead as this will be glued back on after hollowing. He hollowed out the body to a wall thickness of 3.5mm and a depth just before the bead at the headstock end. After sanding and light decoration he ensured he left enough timber to form the point and then parted off. After reversing onto a jam chuck he cut the point but this should not be too sharp. Tops spin for longer on a slightly rounded point. Finish sanding and decorating before sealing and then glue to spigot end back on. With a small square file make the round hole in the body into a square but with the two edges on the axis of rotation cut at 45 degrees on the outside as these will form the ‘reed’ that makes the humming sound.
To make the handle measure out a piece of square stock and drill a 15mm hole at one end (25mm deep) to allow space inside the handle for the string once it is wound up. Drill a 8mm hole all the way through at 90 degrees for the spigot to go in. Now reduce to round and create beads and perhaps a small finial at the end. Sand and decorate. Finally drill a small hole in the spigot for the string, to line up with the centre of the hole in the handle. Make a knob for the string.
For his next mini project Gary used a solid disc of Corian to make another simple spinning top using a hardwood shaft. See picture above. He used an ebony scrap which he glued with CA glue onto the Corian that had been shaped into a ‘flying saucer’. He then turned the shaft very delicately and finished off by CA gluing a piece of nylon on the bottom which he turned to a round point.
One of the things that he turns very quickly but sells well is a simple small Christmas tree ornament. He uses up scrap pieces of hardwoods. Because the finial is so delicate, it should not be turned between centres. He fixes a tiny eye in the top having drill a 1.5mm hole. See picture above.
He finished off the day with a Tippy Top which flips itself over as the speed reduces and the centre of gravity changes. Gary uses a ‘story board’ to remind himself of the dimensions of each of his projects and uses it for marking out the blank.
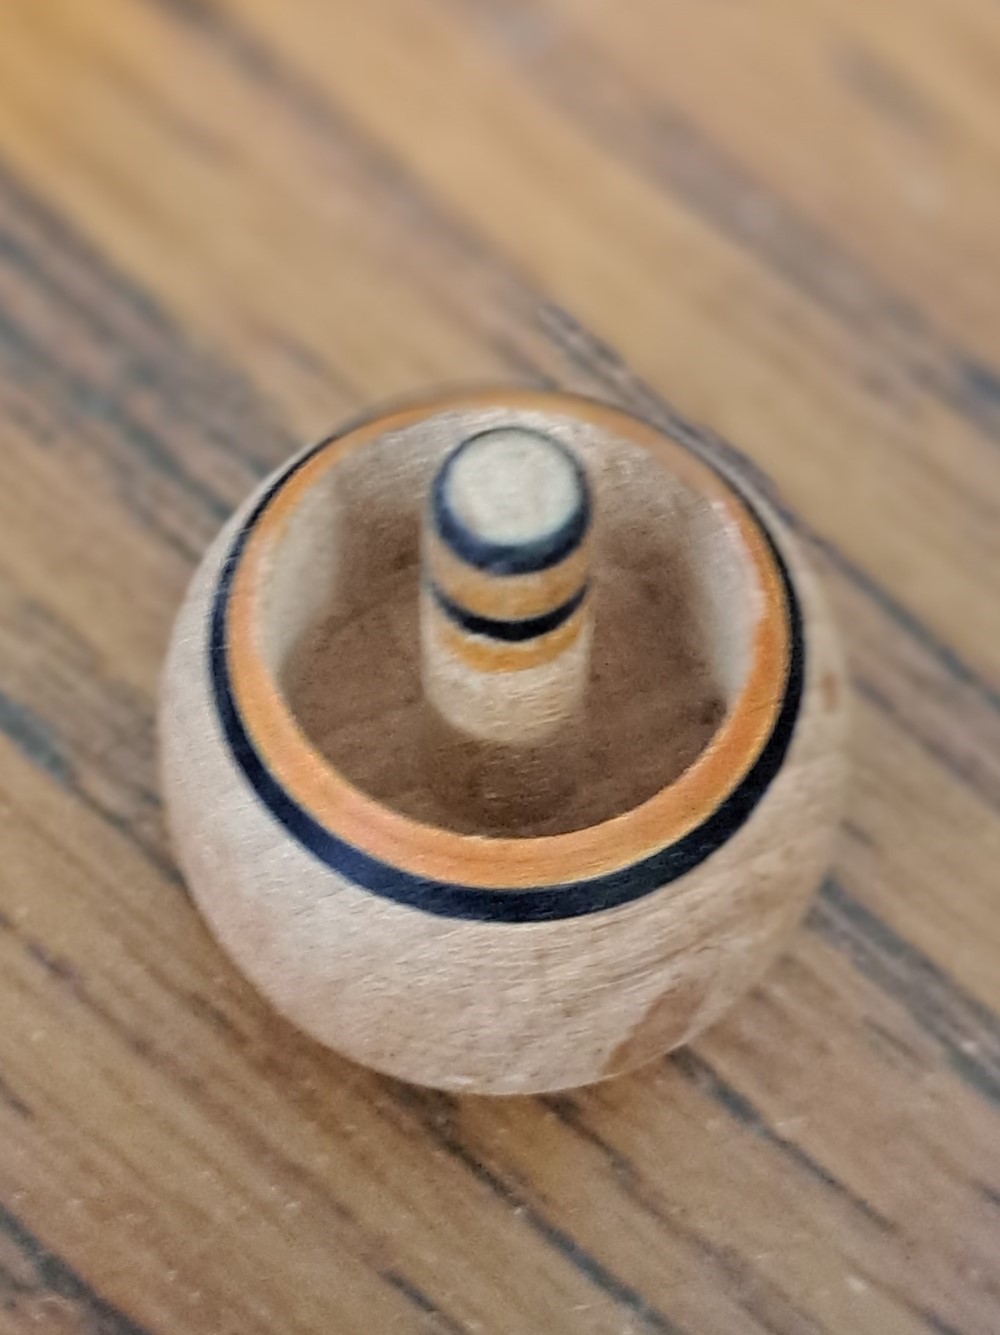
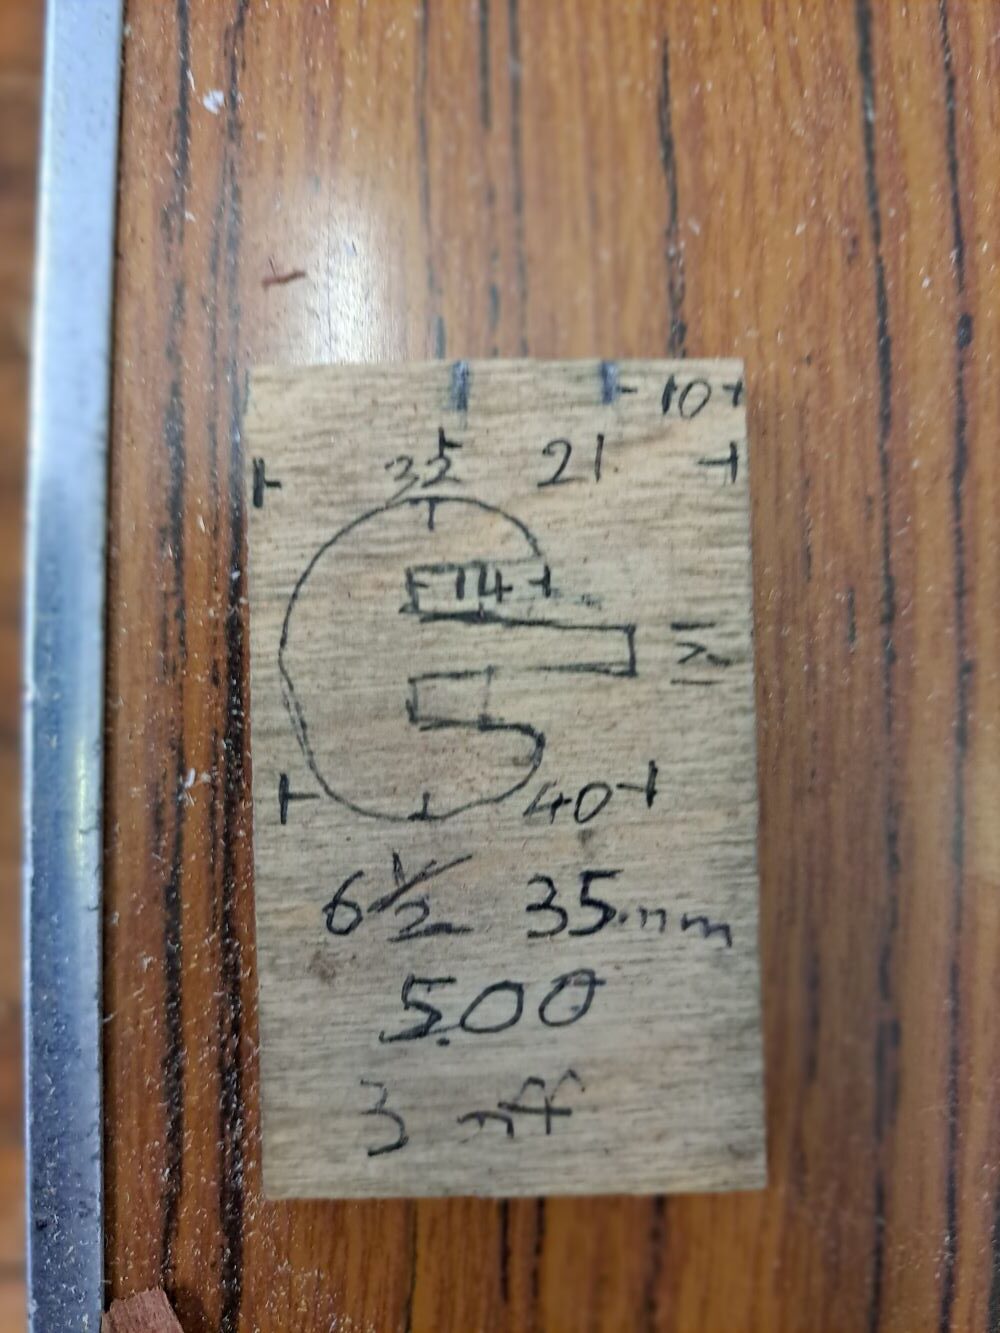
A blank is turned down to 32mm and a 5mm diameter spigot cut and continued into the body by 14mm. The body is hollowed around the spigot as per the diagram. The headstock end is slightly egg shaped as the top will initially spin on this end. The spigot end is trimmed to the correct length with a flat end with a tiny chamfer on the side.
This was a fun day and was all about quick and easy objects that sell well especially at Christmas time but at the same time Gary showed us simple ways of holding small pieces and mastery in the use of just four tools – round bar skew, spindle gouges, thin parting tool and thin box scraper. A very good day and thanks to Derek for providing the excellent buffet lunch.
Ted Higgs
October 2024